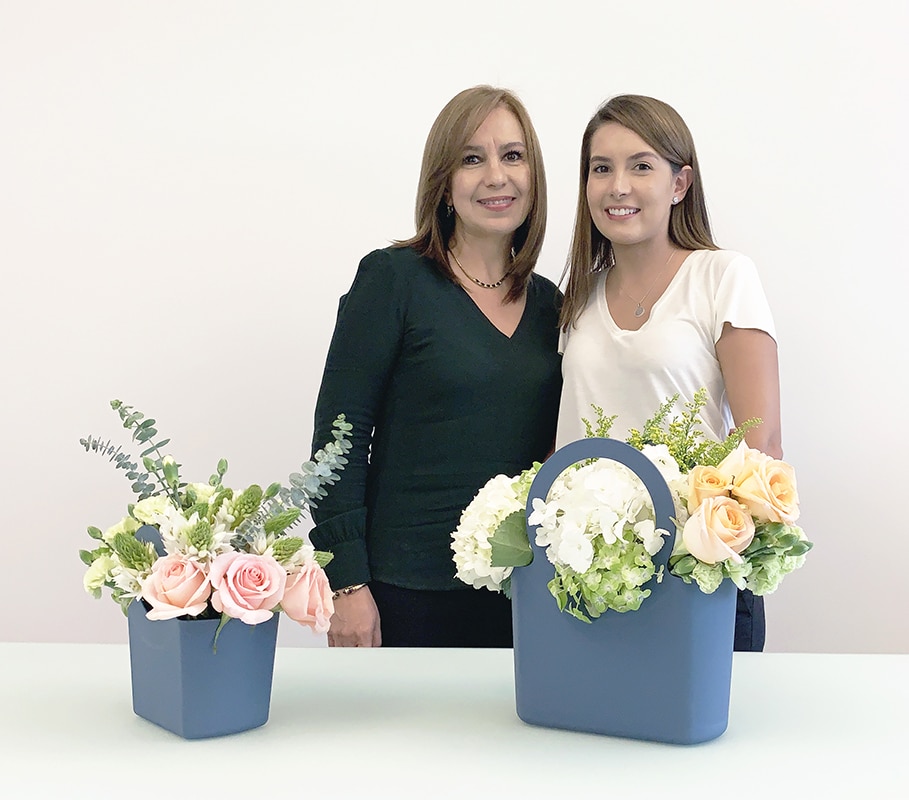
Take gift-giving to a personal level by making your own bouquets in our re-usable Gabrielle bags. This project can be replicated quickly in multiple bags to deliver surprises to everyone who deserves to be loved this holiday. Don’t need previous experience as the simple guidelines below will help you get started.
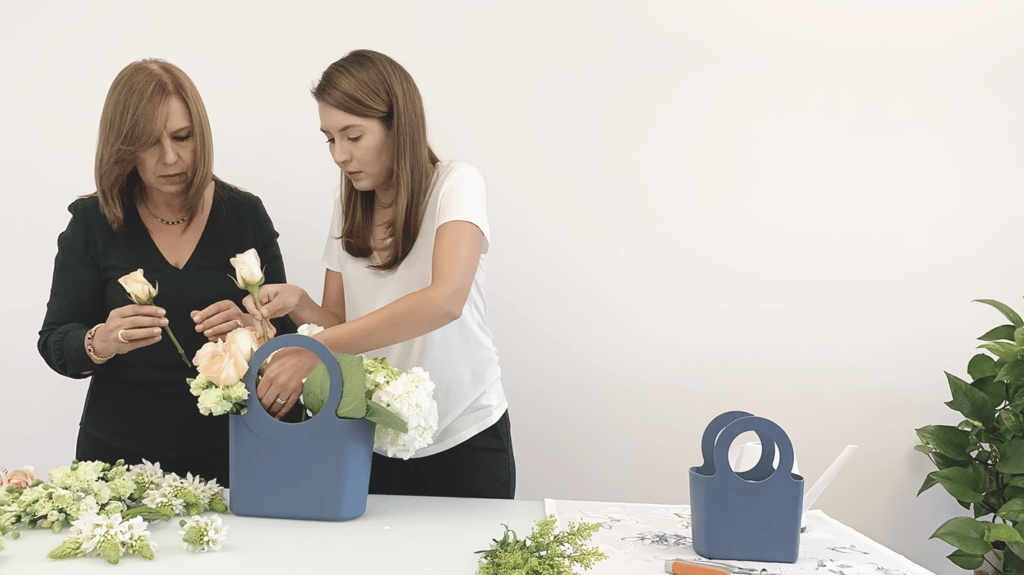
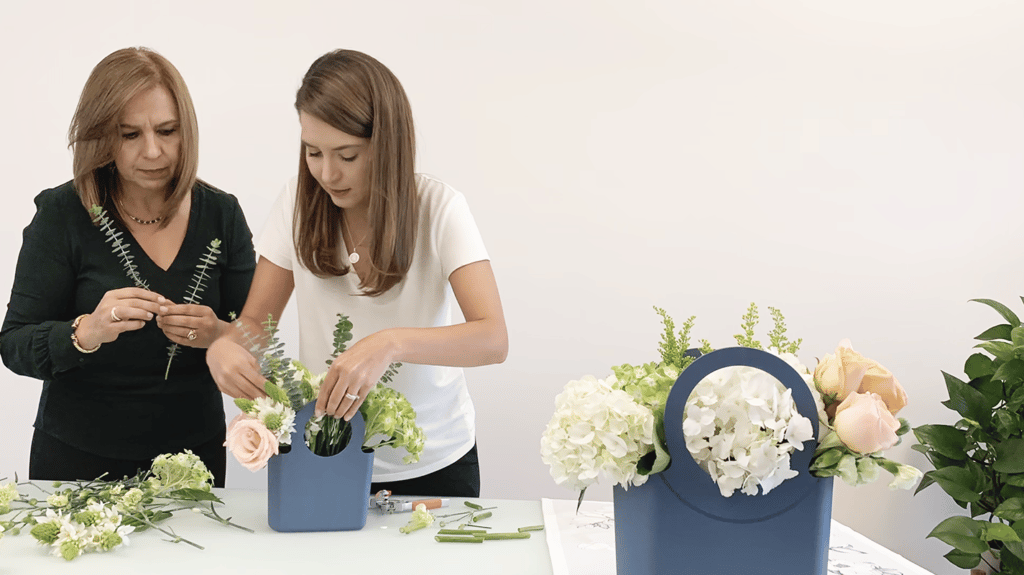
Our mother and daughter team below will show you how to get these Gabrielle flower baskets underway and have fun at the same time.
What you need:
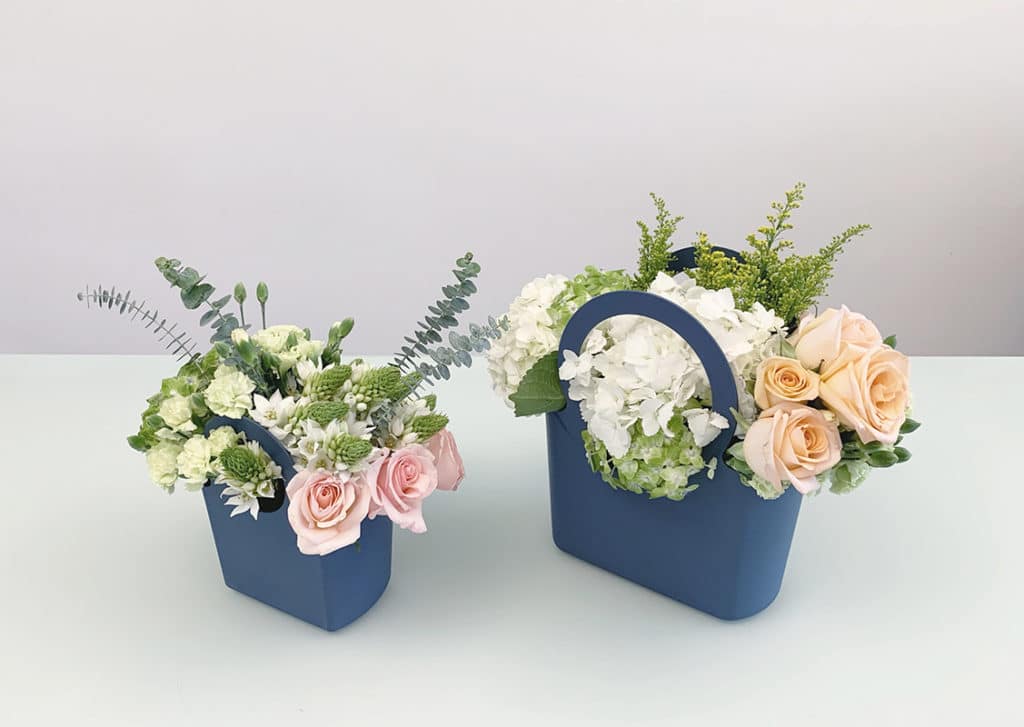
- Gabrielle Mini and/or Regular sized bags (Here, we use our favorite Denim color)
- Your favorite flowers (We have used peach and pink roses along with white hydrangeas)
- Greenery (We have used yellow Limonium, Ruscus greenery and Eucalyptus but anything available in your area will work.)
- Shears
- Thorn strippers (optional)
- Watering can
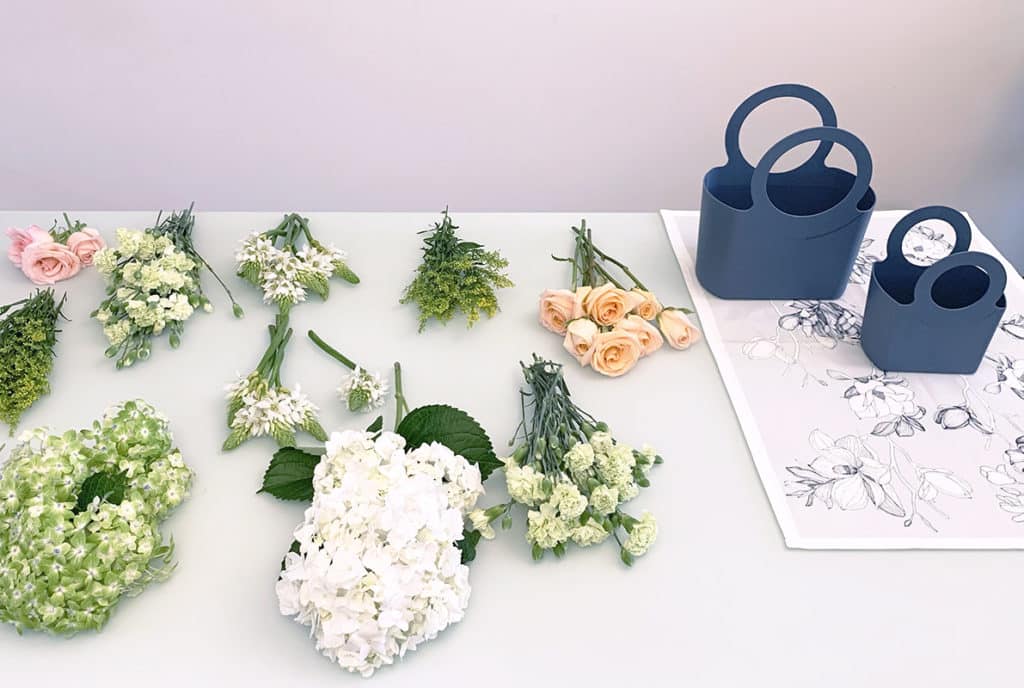
Step 1 – Plan and Pick
Select your favorite Gabrielle bag color and pick your favorite florals. We love a mixture of complementary colors and varieties, including roses, hydrangeas and lilies. And different textured greenery for a complete look.
Lay out all your selections in front of you. Group the same type of florals and greenery by type.
Step 2 – Prep Work
Use good-quality garden shears or sharp scissors to trim the stems at an angle (cutting the stems diagonally ensures the flowers soak up more water) Measure against the height of the vase to ascertain the height.
Be sure to remove any thorns and leaves from the bottom of the stems.

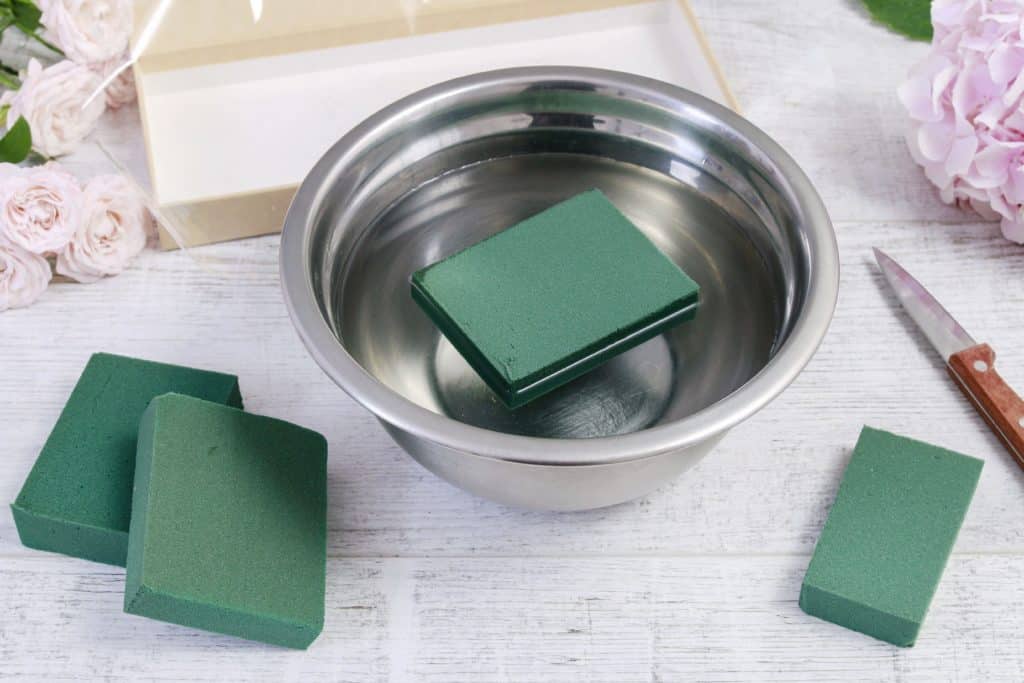
Step 3 – Prepare Container with Floral Foam
Professional florists have a secret weapon to make sure arrangements stay in place. They use floral foam bricks or “oasis”. These are great but you want to soak them in water before you arrange them at the bottom of your Gabrielle bag. You want to cut and accommodate them to line the whole bottom.
Step 4 – Build the bouquet
This is the part where your creative gene shines! Start by adding the largest flowers first in the outer edges. Place them at an angle in the basket and then add the smaller flowers.
Step 5 – Complete the Look
As a final touch, add the greens and berries to cover any bare spaces and finish the arrangement. We also like adding a pop of color with filler flowers like Limonium.
Step 6 – Hydrate
Lastly, add water in the basket, share your art on social media and be prepared to respond to a pleasant surprise from your loved ones.